You switch the PC on, and instead of your desktop you get a blue screen with a short, unhelpful line: INACCESSIBLE_BOOT_DEVICE. Then Windows restarts, shows the same screen again, and again. Nothing you type helps, and every restart feels like another step closer to losing everything on the drive.
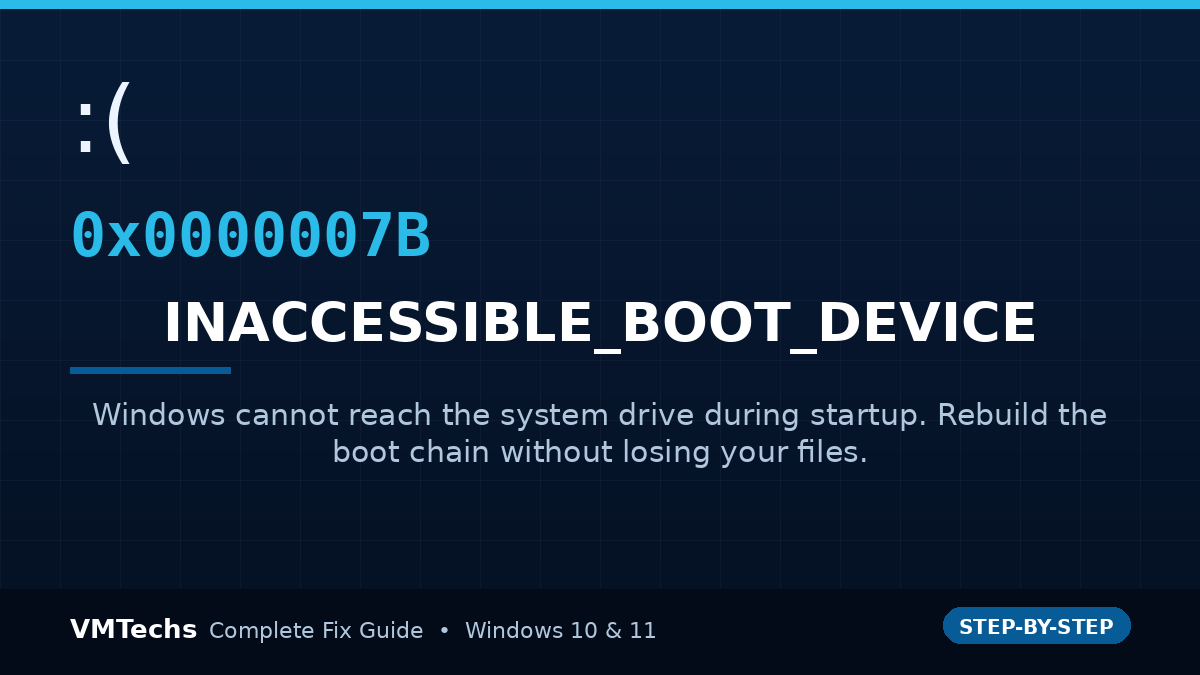
Take a breath. This is one of the most fixable blue screens there is. In plain terms, Windows knows which drive it should start from, but it cannot talk to it early enough in the startup process. That is a communication problem, not a dead drive — and in the large majority of cases the operating system, your programs, your photos and your documents are all still sitting there intact, waiting for the startup chain to be repaired.
This guide walks you through every fix that actually works, in the order technicians use them, starting with the safe ones. Each method includes the exact commands. Then, at the end, there is a far shorter path: letting a purpose-built tool do the same sequence for you in one pass.
Quick answer — what usually fixes 0x0000007B
- Undo the last change: switch the SATA mode in BIOS back to what it was (usually AHCI), or unplug newly added hardware.
- If Windows boots to recovery, start Safe Mode once — Safe Mode reverses driver start-type changes that cause 0x7B after a hardware or controller change. Restart normally afterwards.
- Rebuild the boot configuration data (BCD) and boot files with
bcdbootandbootrec. - Repair the Windows image:
DISM /RestoreHealth, thensfc /scannow. - Run
chkdsk /fon the Windows volume, then re-run the two steps above.
If you would rather not type commands at a black screen, skip to the one-click repair — it runs exactly this sequence automatically.
What INACCESSIBLE_BOOT_DEVICE (0x0000007B) actually means
The stop code is 0x0000007B, and it appears as INACCESSIBLE_BOOT_DEVICE on the blue screen. It happens during the very early phase of startup, while Windows is initialising its I/O system. If the storage stack is not ready at that moment, Windows cannot mount the system volume and it stops immediately to avoid corrupting data.
Microsoft’s own bug-check reference describes the cause as a boot-device failure, where the boot device driver failed to initialise the boot device, or where file-system initialisation failed to recognise the data on it. The same reference lists repartitioning the system partition, changing the BIOS configuration, or installing a disk controller as classic triggers.
The Windows Client troubleshooting guide goes further and names the causes technicians see most often:
- Missing, corrupted or misbehaving filter drivers in the storage stack
- File-system corruption on the Windows volume
- A change to the storage controller mode in BIOS (for example AHCI switched to RAID or IDE, or the reverse)
- Booting from a different storage controller than the one Windows was installed on — or moving the disk to another PC
- A faulty motherboard or storage controller
- In rarer cases, a Windows Update that never committed, leaving the component store inconsistent
- Corruption inside the boot partition itself (the small volume labelled SYSTEM in
diskpart)
Read this before you touch anything: none of the repair methods below formats the Windows partition or deletes personal files. They rewrite boot metadata and repair system files. The only genuinely destructive action would be a clean reinstall, and that is a last resort you should not need. If your drive uses BitLocker, have your 48-digit recovery key ready — you cannot run offline repairs on a locked volume.
Before you start: two minutes that save hours
- Do not run any repair that writes to the disk if the drive is making clicking or grinding noises. In that case, power down and treat it as a data-recovery job.
- If your files are not backed up anywhere, say so now. Every method below is designed to be non-destructive, but “non-destructive” is not the same as “impossible to get wrong”. If the data is irreplaceable, consider imaging the drive first, or at least copying your user folders using the offline file-recovery method.
- Create a rescue USB on another working PC if you can. If Windows will not start, you will be working from the recovery environment, and a proper rescue drive gives you tools the built-in menu does not have.
Method 1 — Undo the last hardware or BIOS change
This is first because it costs nothing and fixes a surprising share of 0x7B cases. Microsoft’s guidance is explicit: revert any recent hardware change, and if removing hardware resolves the error, you are dealing with an IRQ or I/O port conflict or an incompatible controller.
Step 1: Check the SATA / storage mode
- Restart and enter BIOS/UEFI setup — usually by pressing F2, Del, F10 or Esc right after power-on.
- Find the storage setting. It is commonly under Advanced → Storage Configuration, Integrated Peripherals, or NVMe/ SATA Configuration.
- Look for a mode named AHCI, RAID, IDE or RST with Optane.
- If Windows was installed in AHCI and the mode is now RAID (or the other way around), set it back to the original value.
- Save and exit.
Manufacturers occasionally change this default during a BIOS update, which is why 0x7B so often appears right after a firmware flash. If you are unsure which mode was used, try AHCI first — it is the default on the overwhelming majority of modern systems.
Step 2: Remove recently added hardware
Unplug anything non-essential: secondary drives, USB hubs, docking stations, capture cards, SD cards. If the PC boots afterwards, reintroduce devices one at a time to find the culprit.
Method 2 — Boot into Safe Mode once
This sounds too simple to matter, but it is a documented Microsoft resolution. On some systems Windows reduces resource use by changing a boot-critical driver’s start type from Boot Start to Demand Start because it was not needed at startup. If the hardware configuration then changes, that driver is no longer loaded early enough — and you get 0x7B. Safe Mode reverses those start-type changes automatically.
- Power the PC on. As soon as the Windows logo or the spinning dots appear, press and hold the power button for 10 seconds to force a shut down.
- Repeat that twice more. On the third start, Windows enters the Recovery Environment.
- Go to Troubleshoot → Advanced options → Startup Settings → Restart.
- Press 4 (or F4) for Safe Mode, or 5 for Safe Mode with Networking.
- If you reach the desktop, restart normally. Many systems are fixed at this point.
If Safe Mode is missing or refuses to start, use these ways into the Windows Recovery Environment, or boot from a rescue USB instead.
Method 3 — Rebuild the BCD and the boot files
Corruption in the Boot Configuration Data store is the single most common software cause of 0x7B. You need the recovery environment for this. Open Troubleshoot → Advanced options → Command Prompt.
Step 1: Identify your Windows and boot partitions
diskpart
list vol
exit
Note the volume that holds your Windows folder, and the small FAT32 volume (usually 100–300 MB) — that is your EFI System Partition. Drive letters in recovery often differ from normal Windows, so do not assume C:.
Step 2: Verify the boot configuration
bcdedit /enum
You want to see a Windows Boot Loader entry with a sensible device and osdevice partition. If the store cannot be opened, or the entry is missing, rebuild it.
Step 3: Rebuild with bcdboot
bcdboot C:\Windows /s S: /f UEFI
Replace C: with your Windows volume and S: with the EFI partition. For a Legacy BIOS / MBR system use:
bcdboot C:\Windows /s S: /f BIOS
Step 4: If that fails, use bootrec
bootrec /fixmbr
bootrec /fixboot
bootrec /scanos
bootrec /rebuildbcd
If bootrec /fixboot returns Access is denied, or /rebuildbcd reports Element not found, those are known and fixable — follow the dedicated walkthroughs for Element not found and the full BCD rebuild procedure.
Method 4 — Repair the Windows image with DISM and SFC
Always run DISM before SFC. DISM repairs the component store, which is the source SFC restores files from. Running SFC first is the classic reason it reports “found corrupt files but was unable to fix some of them”.
DISM /Image:C:\ /Cleanup-Image /RestoreHealth
sfc /scannow /offbootdir=C:\ /offwindir=C:\Windows
From a working desktop, the online equivalents are:
DISM /Online /Cleanup-Image /RestoreHealth
sfc /scannow
DISM can take 10–30 minutes and may appear stuck at 20% or 40% — that is normal. If DISM fails with access denied or a source error, see how to fix common DISM and SFC errors, or use the full system-file repair walkthrough.
Method 5 — Check and repair the file system
File-system corruption is both a direct cause of 0x7B and a common side effect of the forced restarts that follow it.
chkdsk C: /f
If chkdsk reports bad sectors or takes an unusually long time, check the drive’s health properly — a failing disk will keep producing 0x7B no matter how many times you repair the boot chain. Use the steps in how to check hard disk health in Windows 10 & 11.
Method 6 — Advanced: check the storage filter drivers
If a third-party storage filter driver is broken, Windows can lose access to the disk at exactly the wrong moment. Microsoft’s 0x7B troubleshooting guide has you verify that these services exist and are configured correctly under HKLM\SYSTEM\CurrentControlSet\Services:
ACPIDISKVOLMGRPARTMGR
It also warns about a trap: if a service referenced by an UpperFilters or LowerFilters entry is disabled without removing the matching filter entry, the PC will crash with 0x7B. If you disable a filter driver’s service, remove the filter reference too.
This is registry surgery on an offline hive and is easy to get wrong. If you have reached this point, the one-click option below is the better use of your time.
Method 7 — Roll back a pending or failed Windows Update
When 0x7B appears straight after an update, the update may be half-staged. From the recovery environment:
- Troubleshoot → Advanced options → Uninstall Updates, and remove the latest quality update first, then the latest feature update.
- Or, from an elevated Command Prompt against the offline image:
dism /Image:C:\ /Cleanup-Image /RevertPendingActions
The one-click option: repair 0x0000007B without typing a single command
Let VMTechs Boot Repair Toolkit run the whole sequence for you
Everything above — identifying the right partitions, rebuilding the BCD, repairing the component store, restoring system files, checking the disk, clearing a stuck update — is exactly what the toolkit does, in the correct order, with a live log so you can see each step and its result.
Why technicians keep it on a USB stick:
- It scans first and explains the problem in plain language — 33 checks across disk layout, boot configuration, recovery, registry, system files and diagnostics, in one dashboard.
- It matches your error to the right repair — pick
INACCESSIBLE_BOOT_DEVICEfrom the error list, or let it read the crash dump and suggest the fix. - It works when Windows will not start — run it from WinRE or from the rescue USB it can build for you.
- Nothing is deleted. Standard boot repairs never format the Windows partition or reinstall Windows. Your files, apps and settings stay exactly where they are.
- Everything is reversible. High-impact actions back up first, ask for confirmation, and show you the undo path before they run.
Get VMTechs Boot Repair Toolkit →
One portable file for 64-bit Windows 10 & 11 · Free features included · See every repair option
How to fix 0x0000007B with the toolkit
- Make a rescue USB on any working PC. Open the toolkit, choose Create Rescue USB, and let it build a bootable stick from that PC’s recovery image or a Windows 10/11 ISO — nothing is downloaded and no Windows ADK is needed.
- Boot the broken PC from it (or into WinRE if it still offers that), and run the toolkit.
- Wait for the environment scan. It finds your Windows installation, disk layout, boot partitions and encryption status automatically.
- Open the error list and pick
INACCESSIBLE_BOOT_DEVICE. Leave every step ticked and press Run Selected. The guided repair runs BCD rebuild, boot-file repair, DISM, SFC and disk checks in the correct order. - Watch the log, then reboot when it reports success.
If the PC blue-screens at random instead of failing at startup, use the toolkit’s BSOD Analysis instead — it opens the crash dump offline, extracts the bug-check code and parameters, and tells you which driver caused the crash before suggesting the repair.
Frequently asked questions
Does fixing INACCESSIBLE_BOOT_DEVICE delete my files?
No. Rebuilding the BCD, repairing boot files, running DISM/SFC and running chkdsk all leave your personal files untouched. The only way you lose data here is a deliberate reinstall or a failing drive.
Can I fix 0x0000007B without installation media?
Often yes. Interrupting the boot three times brings up the Windows Recovery Environment, which includes Startup Repair, System Restore and Command Prompt. A rescue USB is better because it also gives you driver and service management, but it is not strictly required.
Why did this happen after I cloned my SSD or moved the disk to another PC?
Windows was configured for the original storage controller. When the controller changes, the driver it needs may not load early enough. Booting Safe Mode once often resolves it; if not, rebuild the BCD and, if needed, install the new controller’s driver from the recovery environment.
Is 0x0000007B a sign of a dying hard drive?
Sometimes, but it is far more often a configuration or file-system problem. Run chkdsk and check the drive’s SMART health. If SMART reports reallocated or pending sectors, replace the drive — but do it by cloning, not by reinstalling from scratch.
Windows boots now but the blue screen came back a week later. What next?
A repair that does not survive usually means the underlying cause was never removed — most often a driver or a BIOS setting. Update your storage and chipset drivers from the manufacturer, reset the BIOS to defaults after noting the SATA mode, and if crashes continue, enable crash dumps so the next one can be analysed properly.
Conclusion
INACCESSIBLE_BOOT_DEVICE looks catastrophic and is usually anything but. The repair path is well understood: undo the recent change, try Safe Mode once, rebuild the boot configuration, repair the Windows image, and check the disk. Most PCs come back at step two or three, with every file intact.
Do the steps in order, resist the urge to reinstall, and — if you would rather not spend an evening at a command prompt — let the VMTechs Boot Repair Toolkit run the same sequence for you and tell you what it found.


