Few blue screens are as unfair as CRITICAL_SERVICE_FAILED. You did nothing unusual. You shut the PC down normally, or you let it install an update, and the next start ends on a blue screen with stop code 0x0000005A — sometimes before you even see the Windows logo.
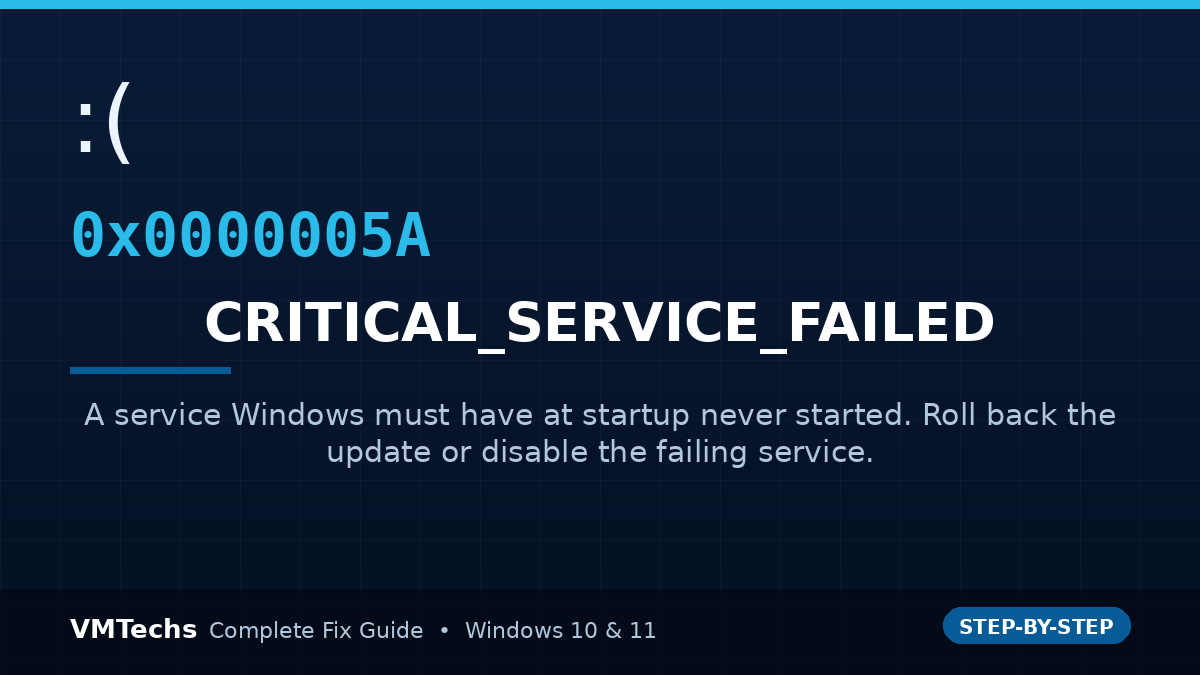
The name sounds terminal. It is not. It means precisely this: one specific service that Windows must have running very early in startup failed to start, and Windows cannot continue without it. Everything else on the machine — your files, your installed programs, your user profile — is almost certainly fine.
Below is the full repair path, ordered from fastest to most involved. Most machines are fixed by Method 1 or Method 2, and neither one touches your data.
Quick answer — what usually fixes 0x0000005A
- If it started right after an update, uninstall the latest quality update from the Recovery Environment: Troubleshoot → Advanced options → Uninstall Updates.
- If that is not available, use System Restore to roll back to the restore point Windows made before the update.
- Run Startup Repair, then rebuild the boot files with
bcdboot. - Repair the Windows image offline:
DISM /RestoreHealththensfc /scannow. - If you can name the failing service, set its Start value to 4 in the offline registry hive.
Prefer not to edit an offline registry by hand? Let the toolkit do it — it lists services on a non-booting installation and disables them reversibly.
What CRITICAL_SERVICE_FAILED (0x0000005A) means
During startup, Windows loads a chain of components in a strict order. Some of them are marked as critical: if one fails, the session cannot be considered safe, so the kernel stops the machine instead of booting into a half-configured system.
In practice this points at one of three things:
- A system service whose files were damaged or replaced — most commonly by a Windows Update that did not apply cleanly
- A third-party driver that registers a critical service — security software, storage and virtualisation drivers are the usual suspects
- A registry or component-store inconsistency that prevents the service from being read correctly
That is why CRITICAL_SERVICE_FAILED appears so often immediately after Patch Tuesday, after a BIOS change, or after a disk-cleanup utility removed something it should not have.
Do not reinstall yet. A clean install wipes your programs and, if you choose the wrong option, your files. Every method below is reversible and non-destructive. Reinstalling is the very last resort, and for this error it is almost never needed.
Before you start
- Get into the Windows Recovery Environment. Force three interrupted boots — hold the power button for 10 seconds as soon as the logo appears, three times — and Windows will offer recovery on the fourth start. If that fails, use one of the other ways in, or boot from a rescue USB.
- Have your BitLocker recovery key ready if the drive is encrypted. Offline repairs cannot touch a locked volume.
- Note the timing. Whether this began immediately after an update, a BIOS change, or a cleanup tells you which method to try first.
Method 1 — Uninstall the latest quality update
If the blue screen appeared the same day Windows installed an update, this is the fix more often than anything else. A quality update that replaced a driver or a service binary without committing cleanly is the textbook cause.
From the Recovery Environment
- Troubleshoot → Advanced options → Uninstall Updates.
- Choose Uninstall latest quality update first.
- Restart. If it boots, pause updates for a week and let the next cumulative update resolve the underlying issue.
- If nothing changes, repeat with Uninstall latest feature update.
From Safe Mode or an elevated Command Prompt
wmic qfe list brief /format:table
Note the KB number of the most recent update, then remove it:
wusa /uninstall /kb:5034123 /norestart
Replace 5034123 with your KB number. Against an offline installation from recovery, use:
dism /Image:C:\ /Get-Packages
dism /Image:C:\ /Remove-Package /PackageName:Package_for_KB5034123~31bf3856ad364e35~amd64~~10.0.1.0
Method 2 — Use System Restore
Windows normally creates a restore point before installing updates. Rolling back undoes the driver, service and registry changes in one step, and leaves your personal files completely alone.
- Troubleshoot → Advanced options → System Restore.
- Pick a restore point dated before the problem began.
- Use Scan for affected programs to see what will change, then finish.
If System Restore says there are no restore points, protection was switched off — which is itself worth fixing once you are back on the desktop. Go straight to Method 3.
Method 3 — Run Startup Repair, then rebuild the boot files
Startup Repair fixes a specific set of startup problems automatically and is worth running once before any manual work.
- Troubleshoot → Advanced options → Startup Repair.
- Let it finish and restart, even if it reports failure — the log it writes is useful later.
If it cannot repair the PC, rebuild the boot configuration manually. Open Command Prompt and identify your volumes first:
diskpart
list vol
exit
Note the Windows volume and the small FAT32 EFI partition, then (adjusting the letters to match):
bcdboot C:\Windows /s S: /f UEFI
For Legacy BIOS / MBR systems use /f BIOS instead. If bcdboot is not enough, the classic sequence still applies:
bootrec /fixmbr
bootrec /fixboot
bootrec /scanos
bootrec /rebuildbcd
More detail — including what to do when /rebuildbcd reports Element not found — is in the full BCD rebuild guide.
Method 4 — Repair the Windows image offline
If the service’s own files were damaged, DISM and SFC restore them from the component store and Windows Update respectively. Always run DISM first — it repairs the source SFC reads from.
DISM /Image:C:\ /Cleanup-Image /RestoreHealth
sfc /scannow /offbootdir=C:\ /offwindir=C:\Windows
Once you are back on the desktop, run the online versions to finish the job:
DISM /Online /Cleanup-Image /RestoreHealth
sfc /scannow
DISM takes 10–30 minutes and may appear frozen partway through; that is normal. If it fails with 0x800f081f or 0x80073712, follow the DISM and SFC error guide.
Method 5 — Revert a pending update that never committed
Sometimes the update is not installed so much as stuck, leaving pending operations that block services from starting.
dism /Image:C:\ /Cleanup-Image /RevertPendingActions
Then, from the recovery environment, clear any pending file renames by loading the offline hive:
reg load HKLM\OFFSYS C:\Windows\System32\config\SYSTEM
reg query "HKLM\OFFSYS\Select"
reg delete "HKLM\OFFSYS\ControlSet001\Control\Session Manager" /v PendingFileRenameOperations /f
reg unload HKLM\OFFSYS
Check the output of reg query and use whichever ControlSet the Current value points to.
Method 6 — Disable the failing service in the offline registry
If you know which service is failing — from the blue screen text, from SrtTrail.txt, or from a previous crash dump — you can stop it loading without booting Windows.
- From recovery, open Command Prompt.
- Load the offline SYSTEM hive and find the active control set:
reg load HKLM\OFFSYS C:\Windows\System32\config\SYSTEM
reg query "HKLM\OFFSYS\Select"
- Note the value of
Current(usually1), then set the service to Disabled. A Start value of4means disabled,2means automatic:
reg add "HKLM\OFFSYS\ControlSet001\Services\ServiceName" /v Start /t REG_DWORD /d 4 /f
reg unload HKLM\OFFSYS
- Restart. If Windows boots, update or reinstall that service’s software properly.
Be selective. Do not disable services at random, and never disable core Windows services — doing so will simply produce a different critical-failure stop code. Disable only the one you have evidence against, and note the original value so you can restore it.
Method 7 — Check firmware settings and driver integrity
Two causes are frequently reported and worth ruling out.
Virtualisation settings in BIOS
Enabling Intel VMX (or AMD SVM) on an old factory BIOS is a known trigger for 0x0000005A on some machines. Update the BIOS to the latest version from your manufacturer, then install the latest chipset driver. If you enabled virtualisation shortly before the crashes began, disable it temporarily and test.
Driver files removed by a cleanup utility
Running Disk Cleanup with Temporary Files selected on the system drive has been reported to remove driver store contents and produce this exact blue screen. The repair is Method 4 (DISM + SFC) plus reinstalling the affected driver from the manufacturer.
Avoid this tempting shortcut. You will find advice online to run bcdedit /set nointegritychecks on or to boot with Disable driver signature enforcement. These do not fix anything — they switch off a safety check so a broken driver can load anyway. Use them only to get in long enough to remove the bad driver, then turn them straight back off with bcdedit /set nointegritychecks off and leave your PC vulnerable for no reason otherwise.
Method 8 — Check the disk itself
A service that cannot read its own files may simply be sitting on a damaged volume.
chkdsk C: /f
If chkdsk finds and repairs a large amount of damage, or reports bad sectors, verify the drive’s health before trusting the installation again: how to check hard disk health.
The one-click option: repair 0x0000005A without touching the registry by hand
Let VMTechs Boot Repair Toolkit find the failing service for you
The hardest part of Method 6 is not the command — it is knowing which service to disable, and doing it safely on an installation that will not boot. The toolkit turns that into a list with checkboxes.
What you get:
- Services Manager — reads the registry of an offline Windows installation and lets you enable, disable or restore services reversibly, with the original state recorded so you can undo any change.
- Manage Windows Updates — repairs the update components, reverts pending actions, and lists or uninstalls installed KBs from recovery.
- Guided Boot Failure Repair — runs the whole diagnostic chain: boot-files check, BCD repair, DISM, SFC, service review, driver review.
- Analyze & Fix Log Errors — reads
SrtTrail.txt, CBS, DISM, ReAgent and setup logs and tells you the root cause and the affected files, with buttons to fix system files, drivers or boot config individually. - System Files Check — validates 24 boot-critical files against Microsoft’s own signatures.
- Nothing is deleted. Standard boot repairs never format the Windows partition or reinstall Windows.
Get VMTechs Boot Repair Toolkit →
One portable file for 64-bit Windows 10 & 11 · Runs from WinRE or a rescue USB · See every repair option
Fix CRITICAL_SERVICE_FAILED in three steps
- Build a rescue USB on any working PC using the toolkit’s Create Rescue USB function, then boot the broken machine from it.
- Let the environment scan finish. It locates your installation, drives, boot mode and encryption status automatically.
- Pick
CRITICAL_SERVICE_FAILEDfrom the error list and press Run Selected — or open Services Manager, review what is set to start automatically, and disable the one you suspect. Then reboot.
Frequently asked questions
Will these fixes delete my files?
No. Uninstalling an update, System Restore, Startup Repair, DISM, SFC, chkdsk and disabling a service all leave your personal files, programs and settings untouched.
Why did this happen right after a Windows Update?
Because the update replaced a driver or service binary that your hardware or a third-party program depends on. Removing the update restores the previous version, and the next cumulative update usually resolves it properly.
How do I find out which service failed?
Check C:\Windows\System32\LogFiles\Srt\SrtTrail.txt from the recovery Command Prompt, or read the memory dump in C:\Windows\Minidump. If neither exists, the toolkit’s log analysis reads the recovery logs for you and names the root cause.
I disabled a service and Windows boots, but a feature is broken.
That is expected — you disabled it, so its feature stops. Re-enable it with a Start value of 2 (automatic) or 3 (manual) once you have installed a working version of the driver or software it belongs to.
Can I just reset Windows instead?
You can, and it works, but it is the slowest option and the most disruptive. Try Methods 1 to 4 first — they resolve the large majority of cases and take far less time than a reset, let alone a reinstall.
Conclusion
CRITICAL_SERVICE_FAILED is a startup-order problem, not a dead machine. Roll back whatever changed most recently — usually an update — then repair the boot chain and the Windows image, and only then start disabling services if you have evidence against a specific one.
Work through the methods in order, take note of every change you make so you can reverse it, and if you would rather not edit an offline registry at a command prompt, the VMTechs Boot Repair Toolkit lists your services, disables them reversibly, and runs the repairs around them.


