Windows Boot Repair Guide
Operating System Not Found Windows 10: Complete Fix Guide for Windows 10 and Windows 11
Fix the “No Bootable Device” and “An operating system wasn’t found” errors with practical BIOS, UEFI, bootable USB, BCD, MBR, CHKDSK, and hardware troubleshooting methods.
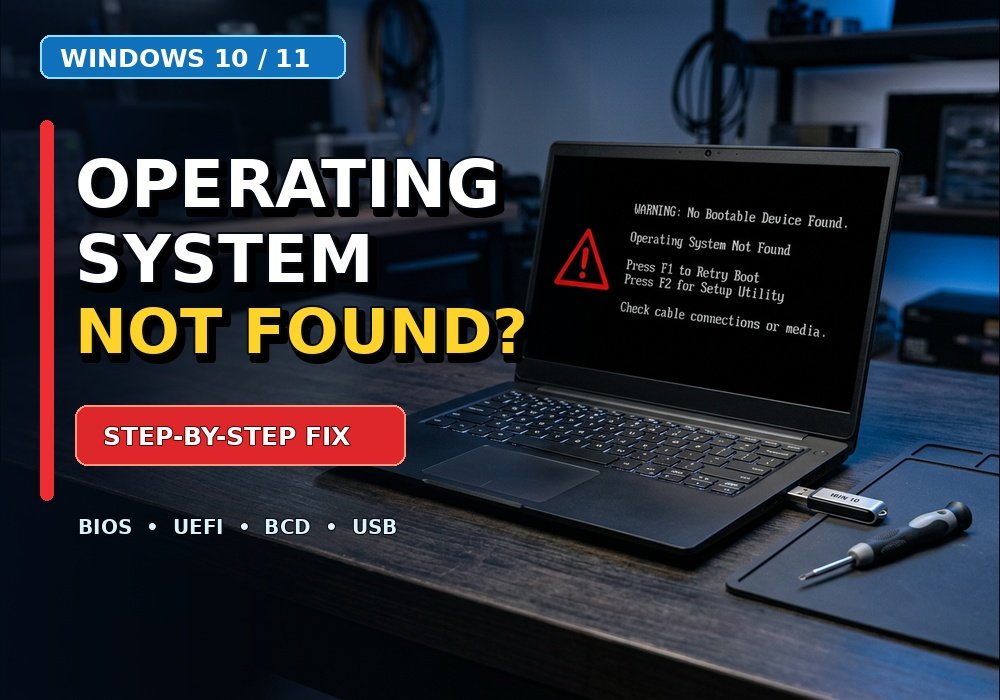
If you see the Operating System Not Found Windows 10 error, or the same boot problem in Windows 11, follow the solutions below in order.
What Does Operating System Not Found Mean in Windows 10/11?
Windows displays “Operating System Not Found,” “An operating system wasn’t found,” “No bootable device found,” or “No boot device available” when the computer cannot locate a valid Windows bootloader. The problem may be as simple as a plugged-in USB drive, or it may indicate an incorrect UEFI setting, damaged BCD data, a missing storage driver, corrupted Windows files, or a failing SSD or hard drive.
The safest way to troubleshoot the problem is to start with the least invasive checks and move toward advanced repairs only when necessary.
Before You Start: Protect Your Data
- Disconnect unnecessary external storage, but do not format or initialize the internal drive.
- If the drive makes clicking or grinding sounds, stop repeated restart attempts.
- Back up important files before reinstalling Windows or changing partitions.
- If the disk is failing or contains irreplaceable files, consider professional data recovery.
Method 1: Disconnect USB Drives and External Storage
If the error says to disconnect drives that do not contain an operating system, begin here. Shut down the computer and remove USB flash drives, external hard drives, SD cards, memory cards, DVDs, and other non-essential devices. Leave only the keyboard and mouse connected, then restart the PC.
If Windows starts normally, the computer was trying to boot from the wrong device. For a full guide to opening the recovery environment from a working PC, startup, or USB, see how to boot into Windows Recovery Environment. If the same error returns, continue with the Windows Recovery Environment and BIOS/UEFI checks below.
Method 2: Check BIOS and UEFI Boot Settings
Restart the computer and repeatedly press the BIOS or boot-menu key as soon as it powers on. The correct key varies by manufacturer and model.
Common BIOS Keys
ASUS: F9, F2, Delete | Acer: F2, Delete | Dell: F2 | HP: F10, Esc, F1
Lenovo: F1, F2, Novo button | MSI: Delete | Samsung: F2, F10
Sony: Assist, F1, F2, F3 | Toshiba: F1, F2, Esc, F12
Set the Correct Boot Device
- Open the Boot or Boot Priority section.
- In UEFI mode, place Windows Boot Manager first.
- In Legacy mode, place the internal Windows drive first.
- Save the changes, usually with F10, and restart.
Check SATA Mode After a BIOS Reset
A BIOS update, CMOS battery replacement, or reset can change the storage controller mode from AHCI to IDE or RAID, or the other way around. If Windows was installed using a particular mode, restore the previous setting. An incorrect SATA mode can make an otherwise healthy Windows drive appear to be missing.
Method 3: Use a Windows Bootable USB for Startup Repair
If the drive is detected but Windows will not start, use another working computer to create a Windows recovery USB. For detailed GPT/MBR instructions, see how to create a Windows 11 Recovery USB. Download an official Windows ISO, then create the USB with Rufus. You can also use Ventoy to store one or more ISO files on the same USB drive.
- Download a Windows 10 or Windows 11 ISO.
- Connect a USB drive and open Rufus.
- Select the ISO and choose the appropriate GPT/UEFI or MBR/Legacy configuration.
- Start the process and wait for the bootable USB to finish.
- Boot the affected computer from the USB and choose the Windows Recovery Environment.
If you do not have another computer, Ventoy can also be installed from an Android phone using an OTG adapter. Follow the complete Android bootable USB guide for recovery and Windows installation media. Copy the ISO and the VMTechs Boot Repair Toolkit to the USB, then boot the affected PC from it.
Automatic Repair With the VMTechs Boot Repair Toolkit
- Open Command Prompt from the Windows setup screen and type
Notepad. - Use Notepad’s File > Open menu to browse to the USB drive.
- Change the file type to All files, then run the toolkit as administrator.
- Open Menu 2 and choose Operating System Wasn’t Found.
- Follow the on-screen instructions and reboot after the repair completes.
50% discount: Use code NOOSVID50 at checkout.
Method 4: Repair Disk Detection, MBR, BCD, and the System Partition
Advanced repairs should be performed carefully. For a dedicated explanation of BCD corruption, missing EFI partitions, and automatic repair, read how to rebuild BCD and create the System or EFI partition. Drive letters in the recovery environment may be different from the letters used inside normal Windows. Confirm the correct Windows and system-partition letters before running commands.
Check Whether the Disk Is Detected
From Command Prompt, use the disk-detection command recommended by the toolkit:
pnputil /enum-devices /class DiskDrive /connectedIf the internal disk appears but is disabled, enable it using the device instance ID shown by the command:
pnputil /enable-device "DEVICE-INSTANCE-ID"Activate an Inactive MBR System Partition
For an MBR installation where the system partition is inactive, open DiskPart, select the correct system volume, and mark it active:
diskpart
list volume
select volume X
active
exit
Replace X with the correct system volume. Selecting the wrong volume can make the computer less bootable, so verify the volume size and file system first.
Load a Missing Storage Controller Driver
If the drive is visible in BIOS but missing in the Windows Recovery Environment, the storage controller driver may not be loaded. Download the correct Intel storage driver from Intel or the computer/motherboard manufacturer, extract it to a USB drive, locate the relevant iaStorVD.inf file, and load it through the recovery toolkit. Rescan the environment after loading the driver.
Method 5: Check and Repair Bad Disk Sectors
If the toolkit reports that disk health needs repair, run CHKDSK against the correct Windows partition. If Windows repeatedly shows a disk-check message at startup, see how to stop or manage disk checking at Windows startup. The exact command and drive letter should be confirmed in the recovery environment:
chkdsk E: /f /rReplace E: with the Windows partition letter shown by the toolkit. CHKDSK can take several hours on a large or damaged drive. Keep the computer connected to power and do not interrupt the scan. If bad sectors are found, back up files immediately after Windows starts because the disk may be failing.
When Should You Reinstall Windows?
Reinstall Windows only when the drive is detected in BIOS, shows no clear signs of physical failure, your important data is backed up, and startup repair cannot restore the installation. If Reset this PC also fails, use the Windows Reset and WinRE repair guide before choosing a clean installation. A clean installation can remove the existing Windows installation and may erase data depending on the options selected.
Need to recover files first? Boot from the Windows USB and copy important documents to another drive before formatting or deleting partitions.
Signs of HDD or SSD Failure
- The drive is not detected in BIOS after cables and settings are checked.
- The computer reports “No Hard Drive Detected” or “Hard Drive Not Installed.”
- The hard drive makes clicking, grinding, or repeated spin-up sounds.
- Windows repeatedly finds bad sectors or becomes extremely slow.
- The computer shows unexplained beep codes or drive-warning indicators.
In these situations, replacing the drive may be necessary. If the drive is healthy but Windows system files are damaged, the DISM and SFC repair guide provides additional offline and recovery-environment methods.
For irreplaceable data, avoid repeated repair attempts and contact a professional recovery service.
Watch the Related Video Guide
Video chapters: 0:00 common boot errors; 0:18 diagnosing the cause; 1:12 disconnecting external storage; 1:41 BIOS/UEFI and SATA settings; 3:19 creating a bootable USB; 4:50 automatic toolkit repair; 6:32 manual disk and BCD fixes; 7:34 loading storage drivers; 8:10 CHKDSK; 8:35 backup and reinstall; 9:08 hardware checks.
Useful Downloads and Related Tutorials
- VMTechs Boot Repair Toolkit — repairs boot files, BCD, WinRE, system files, and disk file-system errors.
- Rebuild BCD and recreate the System or EFI partition
- Boot into Windows Recovery Environment in Windows 10/11
- Create a Windows 11 Recovery USB
- Create a bootable Windows USB using an Android phone
- Fix DISM and SFC errors
- Fix “There was a problem resetting your PC”
- Manage disk checking at Windows startup
- Official Windows 11 ISO download
- Rufus download
- Ventoy Android app
- How to Create a Bootable Windows USB
- How to Boot From USB on Any PC
- Recover Files From a Hard Drive That Won’t Boot
- Windows Startup Repair playlist
Frequently Asked Questions
Why does Windows 10 or Windows 11 say “Operating System Not Found”?
The computer cannot find a valid Windows bootloader or bootable system partition. Common causes include an incorrect BIOS boot order, a missing Windows Boot Manager entry, damaged BCD data, an inactive MBR partition, a missing storage driver, corrupted Windows files, or a failing drive.
How do I fix “No Bootable Device” without reinstalling Windows?
Start by disconnecting external storage, then check BIOS/UEFI boot priority and SATA mode. If the drive is detected, boot from a Windows recovery USB and repair the boot files or BCD. Back up important files before attempting advanced repairs.
What is the difference between BIOS and UEFI boot repair?
Legacy BIOS systems generally use MBR partitions, while UEFI systems normally use GPT and Windows Boot Manager. The boot mode and partition layout must match; changing from UEFI to Legacy or from AHCI to another storage mode can prevent Windows from starting.
When should I replace the hard drive or SSD?
Consider replacement when the drive is missing from BIOS, produces clicking or grinding sounds, repeatedly reports bad sectors, or causes recurring boot failures after the configuration is repaired. Recover irreplaceable files before replacing or formatting the drive.
Final Checklist
Remove external drives, confirm Windows Boot Manager is first, verify UEFI/Legacy and SATA settings, create a recovery USB, repair the boot configuration, check disk health, back up files, and replace the drive if BIOS cannot detect it or physical failure is suspected.
Disclaimer: BIOS menus, drive letters, commands, and recovery options vary by computer model and Windows configuration. Use caution when changing partitions or boot settings. VMTechs does not guarantee that every repair method will work on every device.


