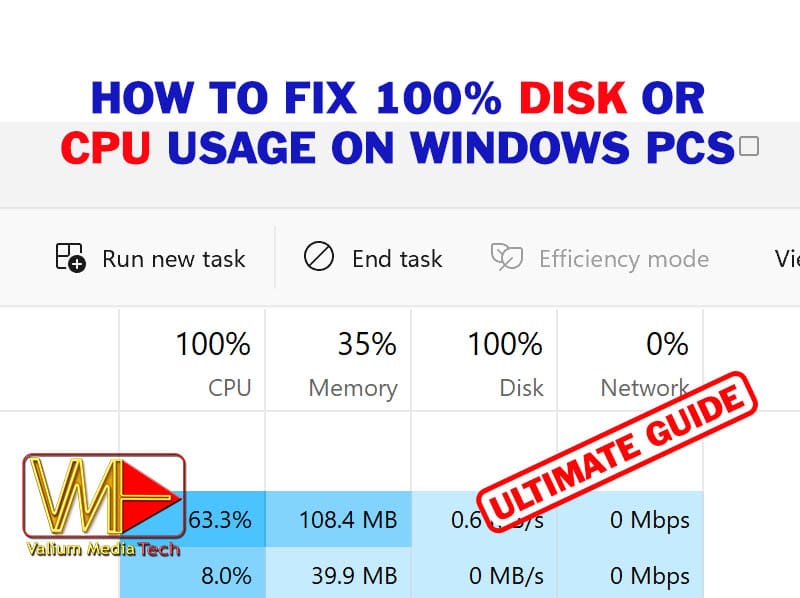
100% disk or CPU usage is an annoying issue that many affect many computers, leading to slow performance or freezing system. This common issue can affect Windows 11, Windows 10, Windows 8, and even Windows 7 systems. If you are suffering from this problem, don’t worry; this comprehensive guide will show you effective troubleshooting methods to resolve this problem, which will significantly boost your PC’s performance.
Why Does 100% Disk or CPU Usage Happen?
High disk or CPU usage can result from various causes, such as:
- Old or corrupted hard drives
- Too many startup services or background processes
- Corrupted system files
- Installing two antivirus apps
- Malware or antivirus conflicts
- Compressed or Virtual memory issues
- Incompatible drivers or updates
- Security and indexing processes
Is it Normal if the CPU and Disk Running at 100%?
If you have windows 10 or windows 11 installed on an older computer with HDD, it’s normal to experience high disk or CPU usage shortly after startup due to starting the active services and applications. However, if you still experience 100% disk or CPU usage but nothing running, then your computer probably has a problem. Therefore, you have to follow this ultimate guide to learn how to troubleshoot your issue step by step.
Step-by-Step Fixes for High Disk or CPU Usage
This part will guide you with more than 14 troubleshooting methods, starting with general solutions before showing the specific tweaks.
1. Update Your System
Windows updates can resolve many issues, but they can also cause temporary high disk or CPU usage in some old computers. Here’s how to ensure your system is up-to-date:
- Press Windows + I to open Settings.
- Go to Update & Security > Windows Update.
- Click Check for updates and install any available updates.
- Restart your computer and then check the disk and CPU usage.

2. Uninstall Recent Updates
If a recent update is the suspected cause, consider uninstalling it using either system restore or removing recent update manually.
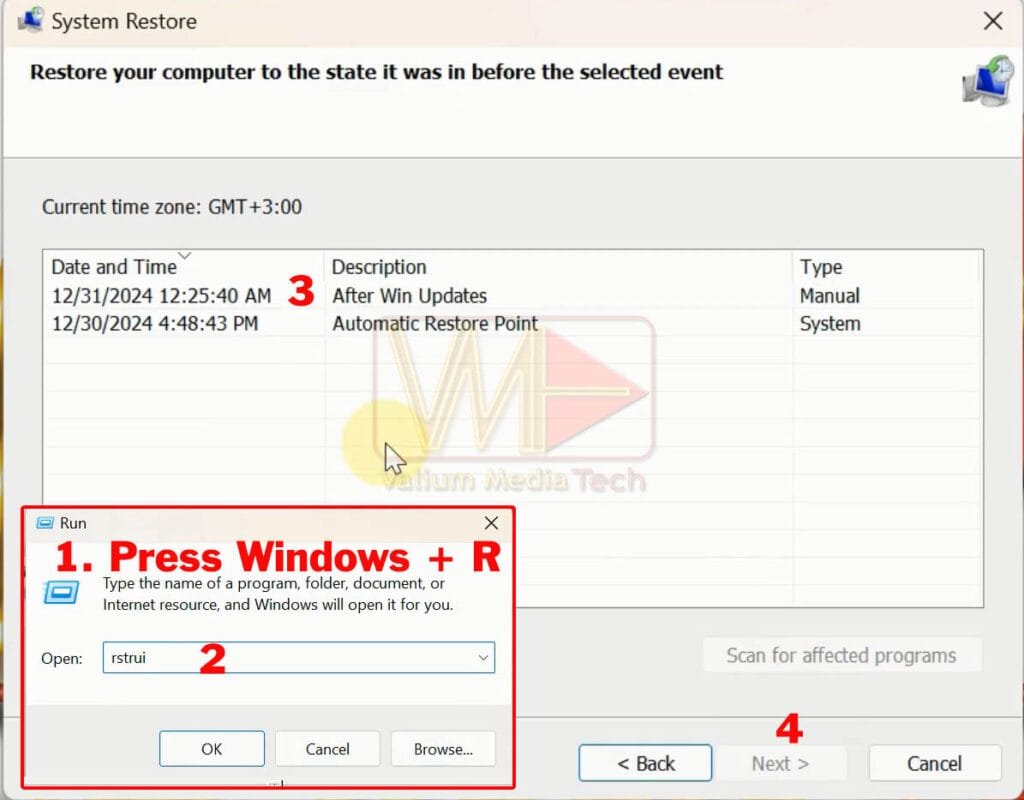
a. System Restore:
- Press Windows + R keys, and then type rstrui and press Enter to open the System Restore Wizard.
- Follow the wizard instructions to revert your system to an earlier restore point.
- If System Restore is turned off, you will get an error message saying that “System Restore is turned off”, so you have to remove the problematic update using CMD as instructed on the next steps.
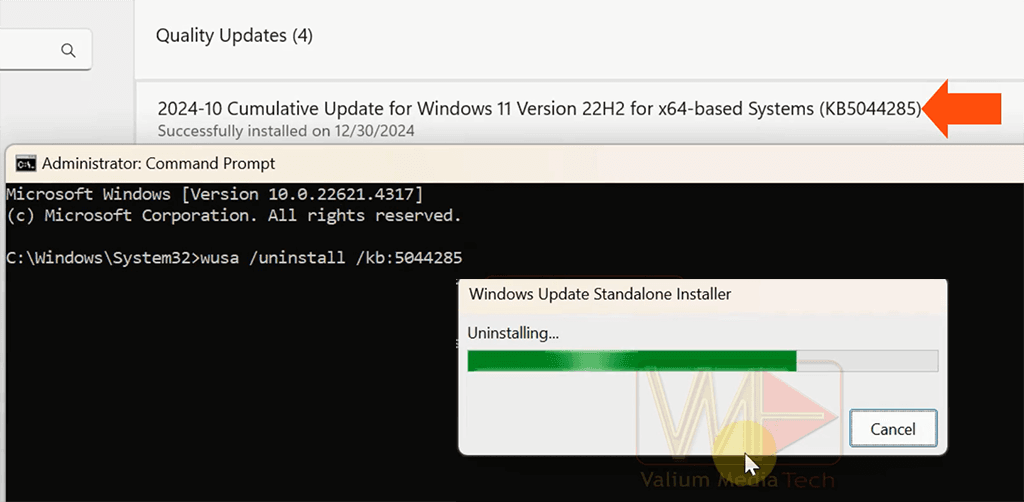
b. Removing Recent Windows Updates From CMD:
- Press Windows + I and then navigate to “Update & Security > View update history”.
- Open Windows Update using MS-SETTINGS:WINDOWSUPDATE.
- Note the KB number of the problematic or recent update.
- Run Command Prompt as administrator and then remove that update using this command:
wusa /uninstall /kb:[UpdateNumber]- For example, to remove update with package number kb123456789, execute this command: wusa /uninstall /kb:123456789
Removing Windows Update from Advanced Recovery Environment (WinRE):
If you are unable to remove the recent update using command prompt, reboot into Windows Recovery Environment as follow:
- Restart your system while pressing Shift key down.
- Click on Troubleshoot and then select Uninstall Updates option
- Select either Uninstall latest quality update or Uninstall latest quality update option
3. Free Up Disk Space on the C Partition
Make sure you have enough free disk space on the C drive or system partition, otherwise cleanup the disk as follow:
- Empty the Recycle Bin.
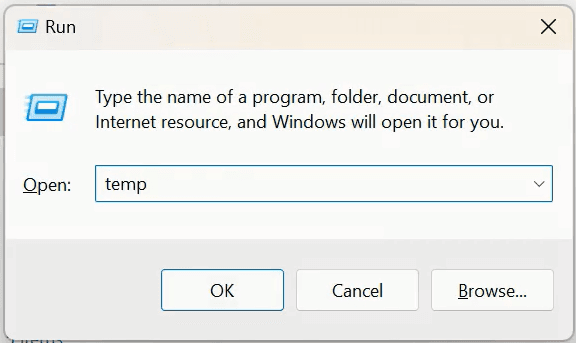
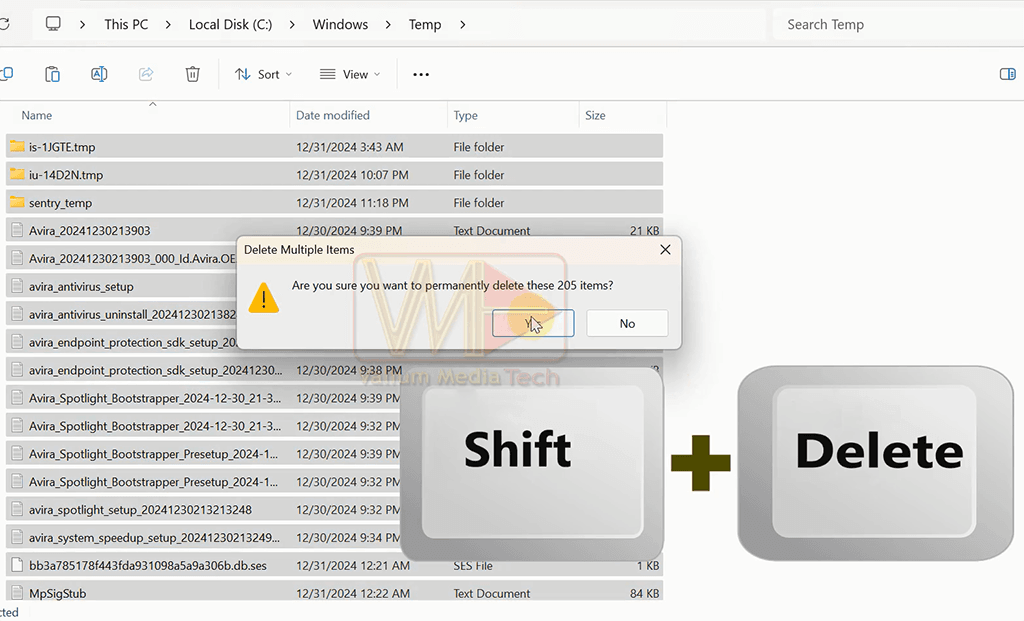
- Delete temporary files as follow:
- Press Windows + R keys and then type temp, and press Enter.
- Select all files using Ctrl + A, and then press Shift + Delete to permanently remove them.
- Repeat previous two steps for %temp% and prefetch.
- Use Disk Cleanup:
- Press Windows + S, search for Disk Cleanup, and select your system drive (C:).
- Check unnecessary files to delete and click OK.
- If the C partition still shows a red bar, remove more and large files or move them to another disk to free up space.
4. Disable Startup Apps and Background Services
- Open Task Manager by pressing (Ctrl + Shift + Esc) and then go to the Startup tab.
- Right-click unnecessary apps and services and then select Disable.
- Go to the Processes tab, right-click unnecessary apps or services with high-usage, and then select End Task. Be cautious not to end critical Windows services.
- Restart your system and monitor performance.
5. Scan for Malware and Antivirus Conflicts
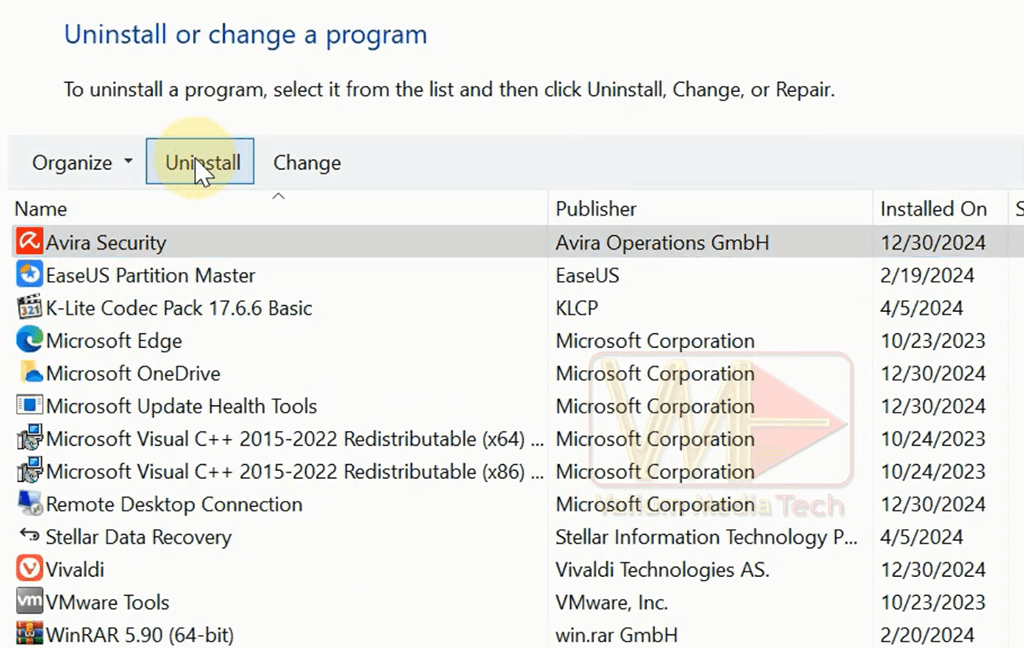
- If two antivirus programs are installed, disable or uninstall one as follow:
- Press Windows + R, type appwiz.cpl, and press Enter to open Programs and Features.
- Select the antivirus program you want to remove and then click Uninstall.
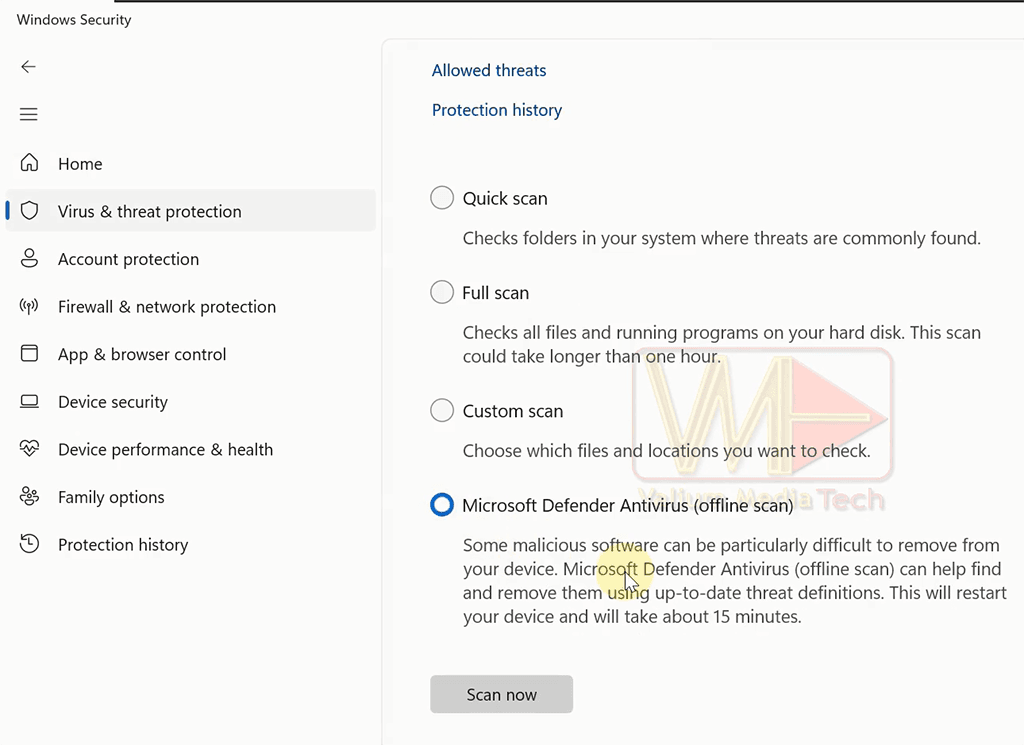
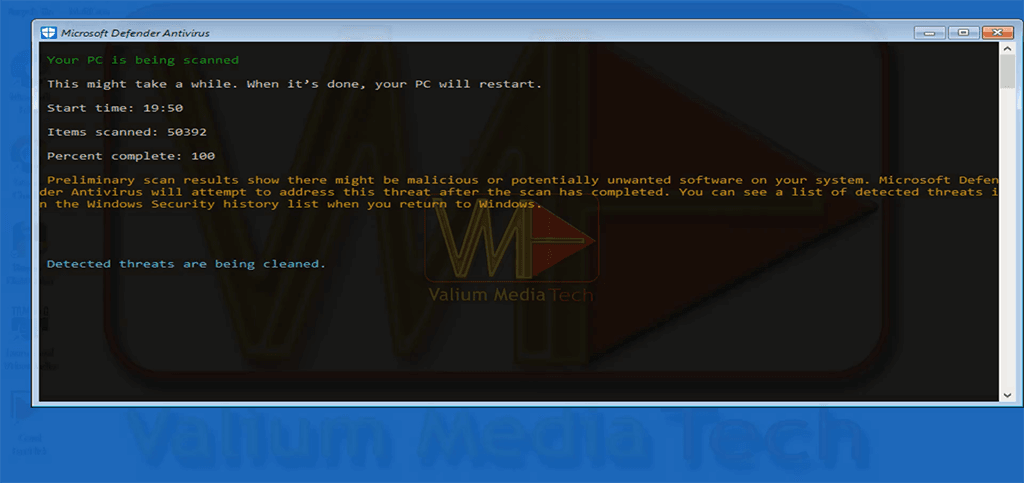
- Perform a full scan with Microsoft Defender:
- Open Windows Security > Virus & Threat Protection.
- Click Scan options > Microsoft Defender Offline Scan > Scan now.
6. Disabling Hibernation
- Open Run (Windows + R) and type powercfg.cpl.
- Click on “Choose what the power buttons do,” then “Change settings that are currently unavailable.”
- Disable hibernation if enabled, then restart your system.

7. Repair Disk Corruption from CMD
- Open Command Prompt as Administrator (search for CMD > Run as administrator).
- Repair disk errors and bad sectors using this command:
CHKDSK /R /X /C /FType Y to schedule a scan at the next restart, after that, restart your computer.

8. Repair system files:
- Type CMD into search box and then run Command Prompt as administrator
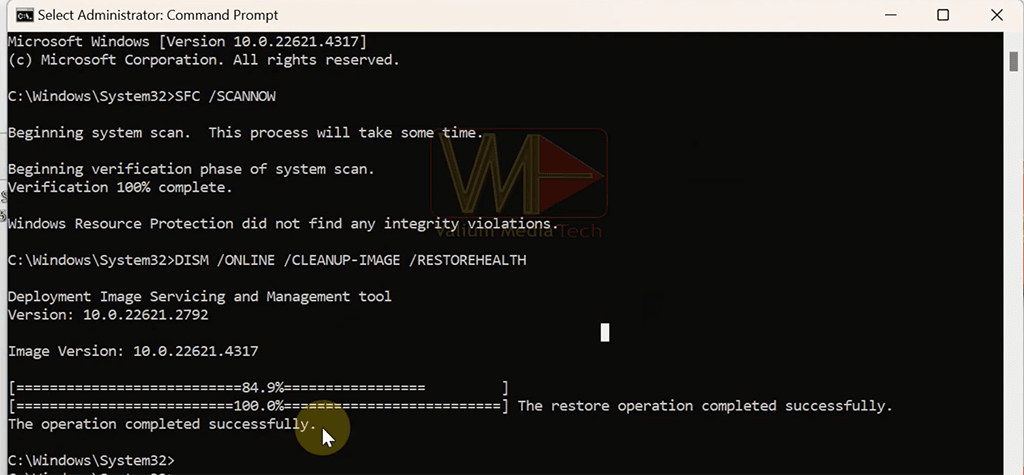
- Execute this command to run System File Checker (SFC) tool:
SFC /ScanNow- Once the SFC finished, use DISM to restore the system image health using this command:
DISM /Online /Cleanup-Image /RestoreHealth- Wait for the DISM command to end, after that Restart your system.
9. Update Drivers and BIOS Firmware
- Visit your PC manufacturer’s website and locate driver updates using your device model or serial number.
- Update drivers via Device Manager:
- Right-click the Start menu, select Device Manager.
- Double-click devices, navigate to the Driver tab, and compare the version with the website.
- Update BIOS with extreme caution by following your manufacturer’s instructions.
10. Disable Problematic Services
In old computers running newer windows system, some services, such as Windows Search and SysMain (Formerly SuperFetch) found to cause a 100% CPU and/or disk utilization. Try to disable one or both of mentioned services as follow:
a. Disabling Windows Search Service
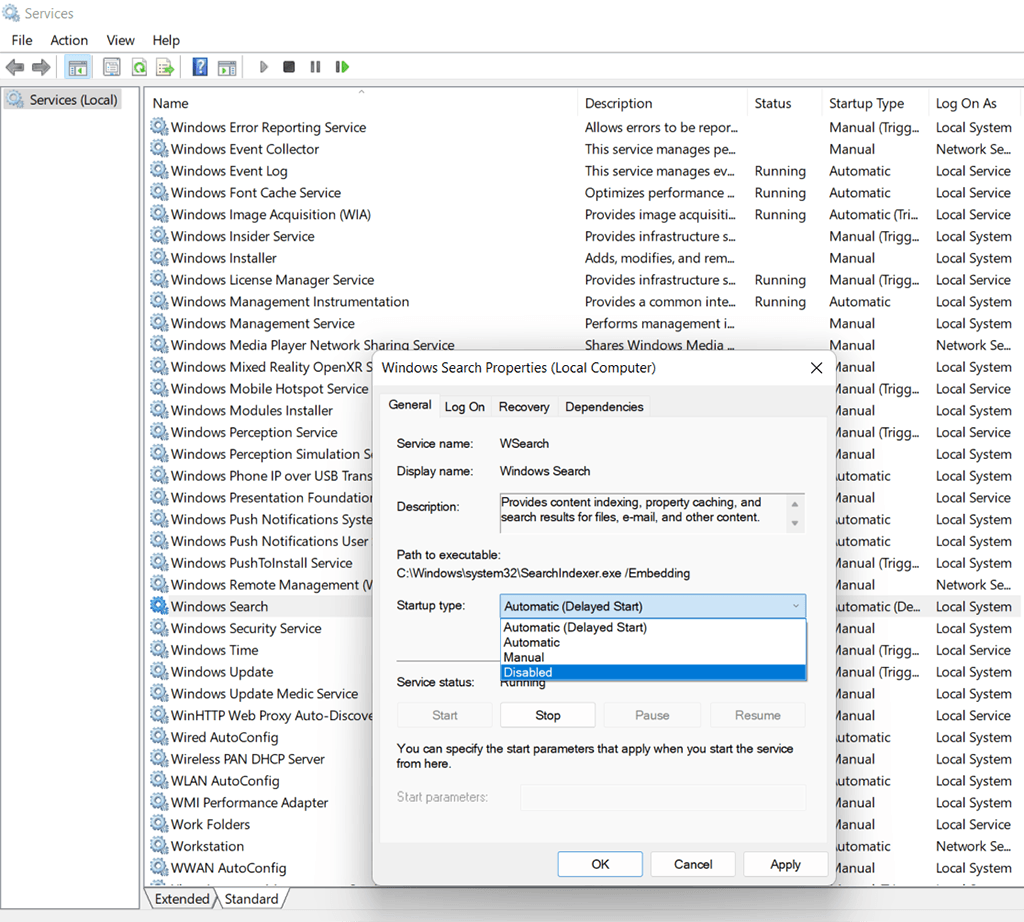
- Press Windows + R, and then type services.msc to open Services.
- Double click Windows Search service
- Stop the service and then change Startup type to Disabled
- Restart your system and verify performance.
Disabling Windows Search from Command Prompt
Use this command to stop Windows Search service from CMD:
net stop "Windows Search"To disable startup of Windows Search service, execute this CMD command:
sc stop "wsearch" && sc config "wsearch" start=disabledb. Disabling SysMain Service
- Press Windows + R, and then type Services.msc to open Services.
- Double click SysMain service to open it. In old build of windows 10 and previous windows versions such as windows 8, windows 7, windows Vista and windows XP, the SysMain service called is called Superfetch.
- Stop the service and then change Startup type to Disabled
- Restart your system and check performance.

Note: If the high disk or CPU usage didn’t fix after disabling either Windows Search or Sysmain (Superfetch) services even after restarting, you have to enable both of them and then try other suggestions.
11. Disable System and Compressed Memory:
In Windows 11 and windows 10, Memory compression is used for optimizing memory usage by reducing physical memory demand, hence minimizing pagefile operations, and decreasing disk reliance. This can enhance disk speed, leading to improved system responsiveness and performance. However, if the Task manager shows that the 100% disk or CPU usage is due to System and Compressed Memory, then you have to disable using these steps:
- Run Command Prompt as Administrator
- Execute this command to check Compressed Memory Status:
Get-MMAgent3. If Compressed Memory enabled, then disable it using this command:
Disable-MMAgent -mc- Restart your system and check performance
- If the CPU and disk usage settled to normal, then you have done, otherwise, Re-enable the Compressed Memory using this command:
Enable-MMAgent -mc
12. Change Virtual Memory Settings
In Windows 8 and earlier versions, Compressed Memory is not available. Instead, you can try disabling virtual memory by following these steps:
- Open the Run tool (Windows + R) and enter the command:
SystemPropertiesAdvanced - Under the Performance section, click on the Settings button, then open the Advanced tab.
- Click Change under the Virtual Memory section.
- Uncheck Automatically manage paging file size for all drives.
- Select Custom Size, enter values such as 500 for the initial size and 800 for the maximum size, then click OK to save the changes.
- Restart your system and check disk and CPU usage.
If the issue persists, change the virtual memory setting to No Paging File, save the changes, and restart your system again.”


13. Disable AHCI Controller (StorAHCI.sys) Driver:
As reported by Microsoft, Advanced Host Controller Interface PCI-Express (AHCI PCIe) may cause the high CPU or disk utilization when using the default StorAHCI.sys driver, even when using SSD drive. If the StorAHCI.sys driver is used, try to disable it using the following steps.
a. Checking if the StorAHCI Driver is Running
- Right click on start icon and then select Device Manager.
- Double click “Standard SATA AHCI Controller” driverunder “IDE ATA/ATAPI Controllers” node
- Open Driver tab and then open Driver Details option
- If the StorAHCI.sys driver is available, then follow the next steps to disable it.

b. Steps to Disable StorAHCI.sys Driver:
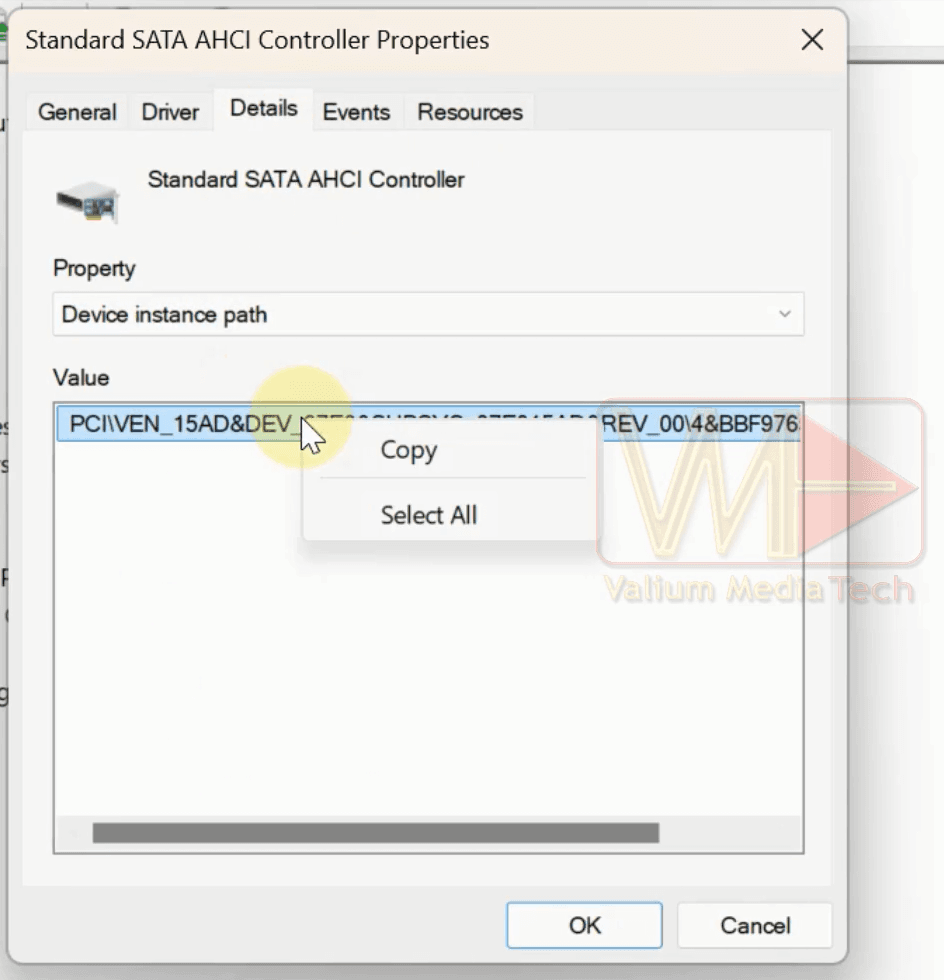
- Double click “Standard SATA AHCI Controller” and thenOpen Details tab
- Select Device instance path from drop list under Property
- Right click the path and then select Copy option
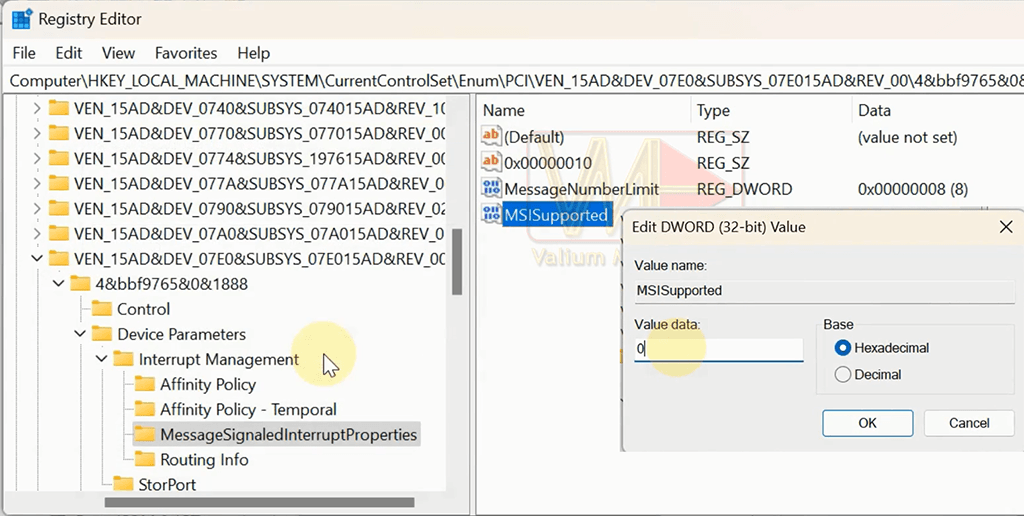
- Press Windows + R and then run REGEDIT to open the Registry Editor
- Navigate to this path and then add backslash “\” mark to the end:
- HKEY_LOCAL_MACHINE\System\CurrentControlSet\Enum\
- Paste the copied path after the “\” mark and then press Enter
- Navigate to Device Parameters\Interrupt Management\MessageSignaledInterruptProperties
- Double click the MSISupported key
- Modify the then key value from 1 to 0 and then click ok to save changes.
- Restart your device and then check disk and CPU usage
Note: If there ae more two or more AHCI Controller drivers, repeat previous steps to disable all of them one by one or until you detect the problematic one.
14. Defragment and Optimize C Drive
- Type Defragment into search box and then open Defragment and Optimize Drives
- Select the C partition and then click on Optimize option

15. Expert Tips from the Reddit and Microsoft Experts
- Delete blank desktop icons.
- Update SSD firmware.
- Replace the outdated Intel storage controller “Intel Chipset SATA RAID controller” with the newer “Intel Chipset SATA/PCIe RST Premium Controller”.
- Uninstall CCleaner app
- Create a new user account for a clean profile.
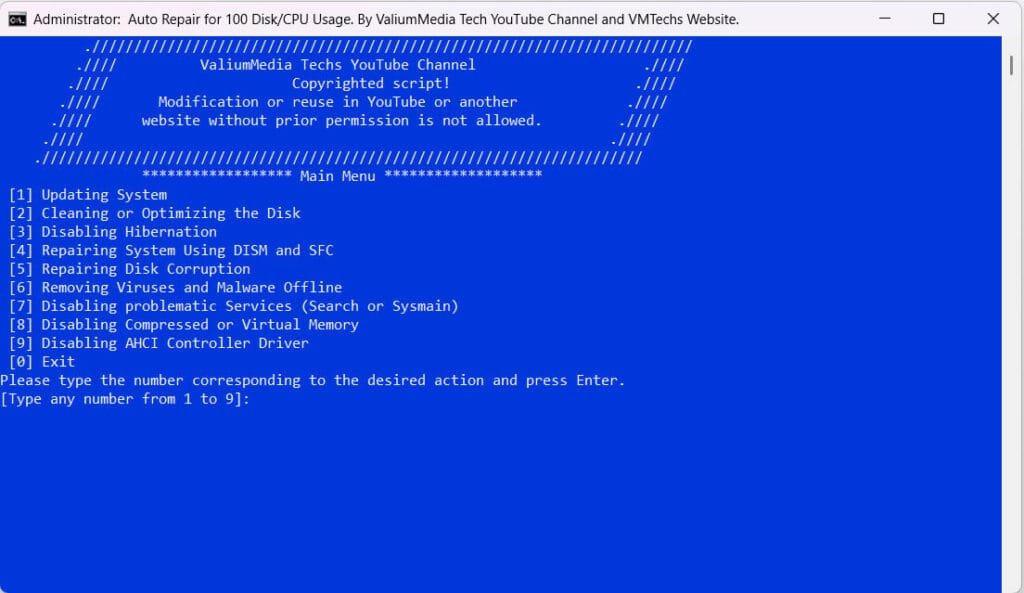
Automatic Fixer for 100% Disk & CPU Usage
If you want an automatic method to troubleshoot 100 disk and CPU usage, you can use my VMTechs 100 Disk Usage Fixer tool for free.
Download the VMTechs 100 Disk Usage Fixer tool from this short link or use this direct link from Google Drive.
How to Use the VMTechs 100 Disk Usage Fixer tool
- Double click the bat file to launch it
- The tool will run as administrator automatically, as the commands require elevated permissions.
- Before trying any troubleshooting suggestion, you should create a restore point by pressing 1 and hitting Enter.
- After creating restore point, type 4 and press Enter to open the Main Menu of the troubleshooting options.
- Try the suggested solutions one by one by typing the number corresponding to each option.
- Restart your computer after each trial and then see if the issue fixed or not.
- If you have disabled any Service but the disk or CPU usage didn’t fixed, then enable the service from the batch tool and try another suggestion.
for more details about the usage of VMTechs 100 Disk Usage Fixer, watch the second video on this topic below.

Conclusion
By following this comprehensive guide, you can effectively resolve 100% disk or CPU usage issues and improve your windows computer’s performance. If these solutions worked for you, please share your experience in a comment to help others facing similar issue. Don’t forget to bookmark this guide for future troubleshooting needs!
VIDEO 1
For more details in how to apply all suggested methods, watch the following video. It shows how to fix 100 percent CPU and disk usage step by step:
VIDEO 2
Video showing how to use VMTechs 100 Disk Usage Fixer tool to fix high disk and CPU usage Automatically: